

The rest are pictured at the bottom of the blog post.
There is a BLOG HOP. Click HERE to be able to have a chance to win one of FIVE projects!

As you can tell her school starts with a "R" and their colors are red, white and black. So I took that and had lots of fun!
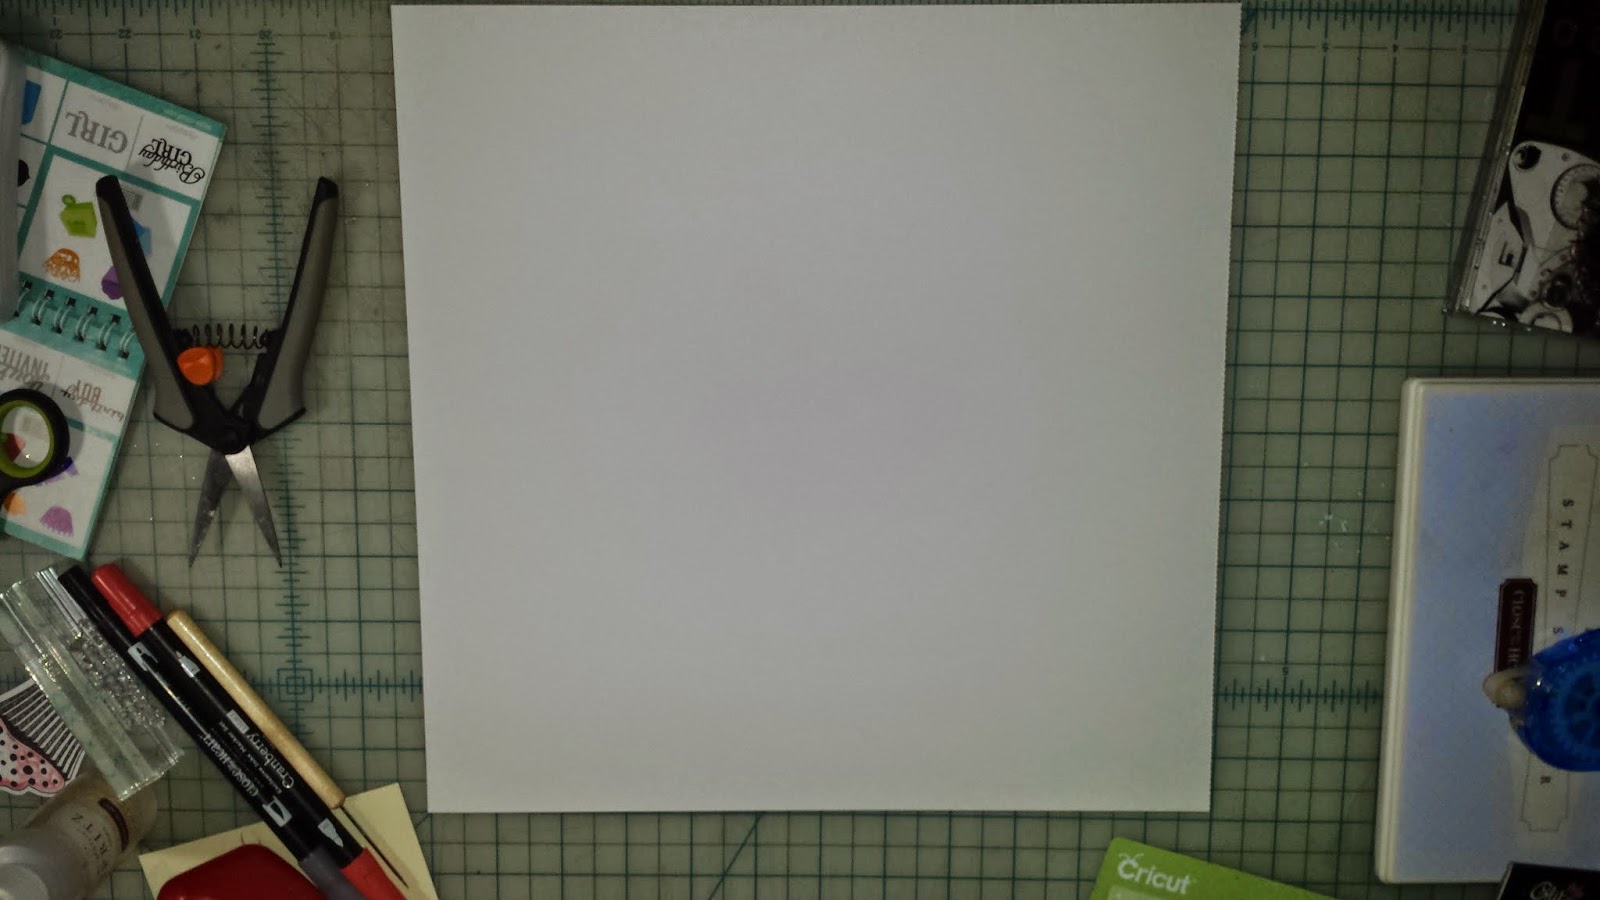
I received a bunch of great stuff from a friend. In there was a very thick cardboard letter "R". I immediately knew I wanted to do something with it for her. So I first took a 12 x 12 white daisy cardstock. and my red and black CTMH ink pads.


I then lined up the "R" to where I liked where it hit on the random stamped page. I then traced it with a large overlap and cut it out.

Now with this project Modge Podge is your best friend! You need to be very liberal with it when you apply it to your project with a foam brush. Then I sanded all of the edges to get the excess paper off. and applied more Modge Podge over the top of the paper to secure it. It also allowed my red letter cut outs to be applied with no adhesive other than covering it up over the top of those as well.


Here is my ending project to hang in her room!!!!

Now I did another project!!! Can you tell I was inspired?!?!?!?!

 |
| I added a trim around every paper with a freestyle hand drawn line. This paper is CTMH Lagoon. |
 |
| Random paper with same black trim |
 |
| Rectangle paper with snip to create the banner type look. |
 |
| I stamp on foam. It creates a great clear stamp when I do. CTMH stamps all come with foam but if you do not have one handy you can use a mouse pad too. Always good when you are at crops cause those plastic tables give too much when you are trying to stamp. Also always stamp standing up. You will thank me for this! |
 |
| Ok this is the first time I stamped with this saying. Can you see how clear it is? You do not need to "season" the stamps from A Creative Journey with Melissa. They automatically stamp beautifully! |
 |
| Here is a close up |
 |
| Added the tiny splatter stamps to the banner tag. |
 |
| I over inked my stamps to give it a bit of a crackle effect. |


 |
| I cut out the edges. Took only a few minutes for both. I like the effect. Do you??? |
Final Project! Hope you like it! If you like what you see please go to A Creative Journey with Melissa and please let her know that Brandie sent you. I like to look good for my boss lady!

Here are all of the new releases available at www.acreativejourneywithmelissa.com
 |
| Everyday Alphabet Outline Upper and Lower Case |
 |
| Everyday Alphabet Outline Numbers and Symbols |
 |
| Everyday Alphabet Upper Case and Emoticon |
 |
| Everyday Alphabet Lower Case and Numbers |
 |
| Wedding and Celebrations |
As Always,
Brans
love your R project! thanks for stopping by my blog :)
ReplyDelete